")
Salty Simulations Boeing 747 Startup & Taxi Checklist for MSFS 2020 (Beginner Guide with tips)
Why?
There are millions of online resources for aircraft startup and flight. But either they were too verbose like YouTube videos or too brief with no context at all.
I wanted to create a practical reference that walks through the full startup process of the aircraft from a cold and dark state. My goal was to keep it concise but informative, with just enough context to understand why each step is necessary—not just what to do.
This guide is based on the reference video: https://www.youtube.com/watch?v=3tafQelqEmM
Flight Parameters
- Flight Sim - MSFS 2020
- Aircraft - Salty Simulations Boeing 747
- Weather - Normal
- Time - Night (Just to make it more adventurous)
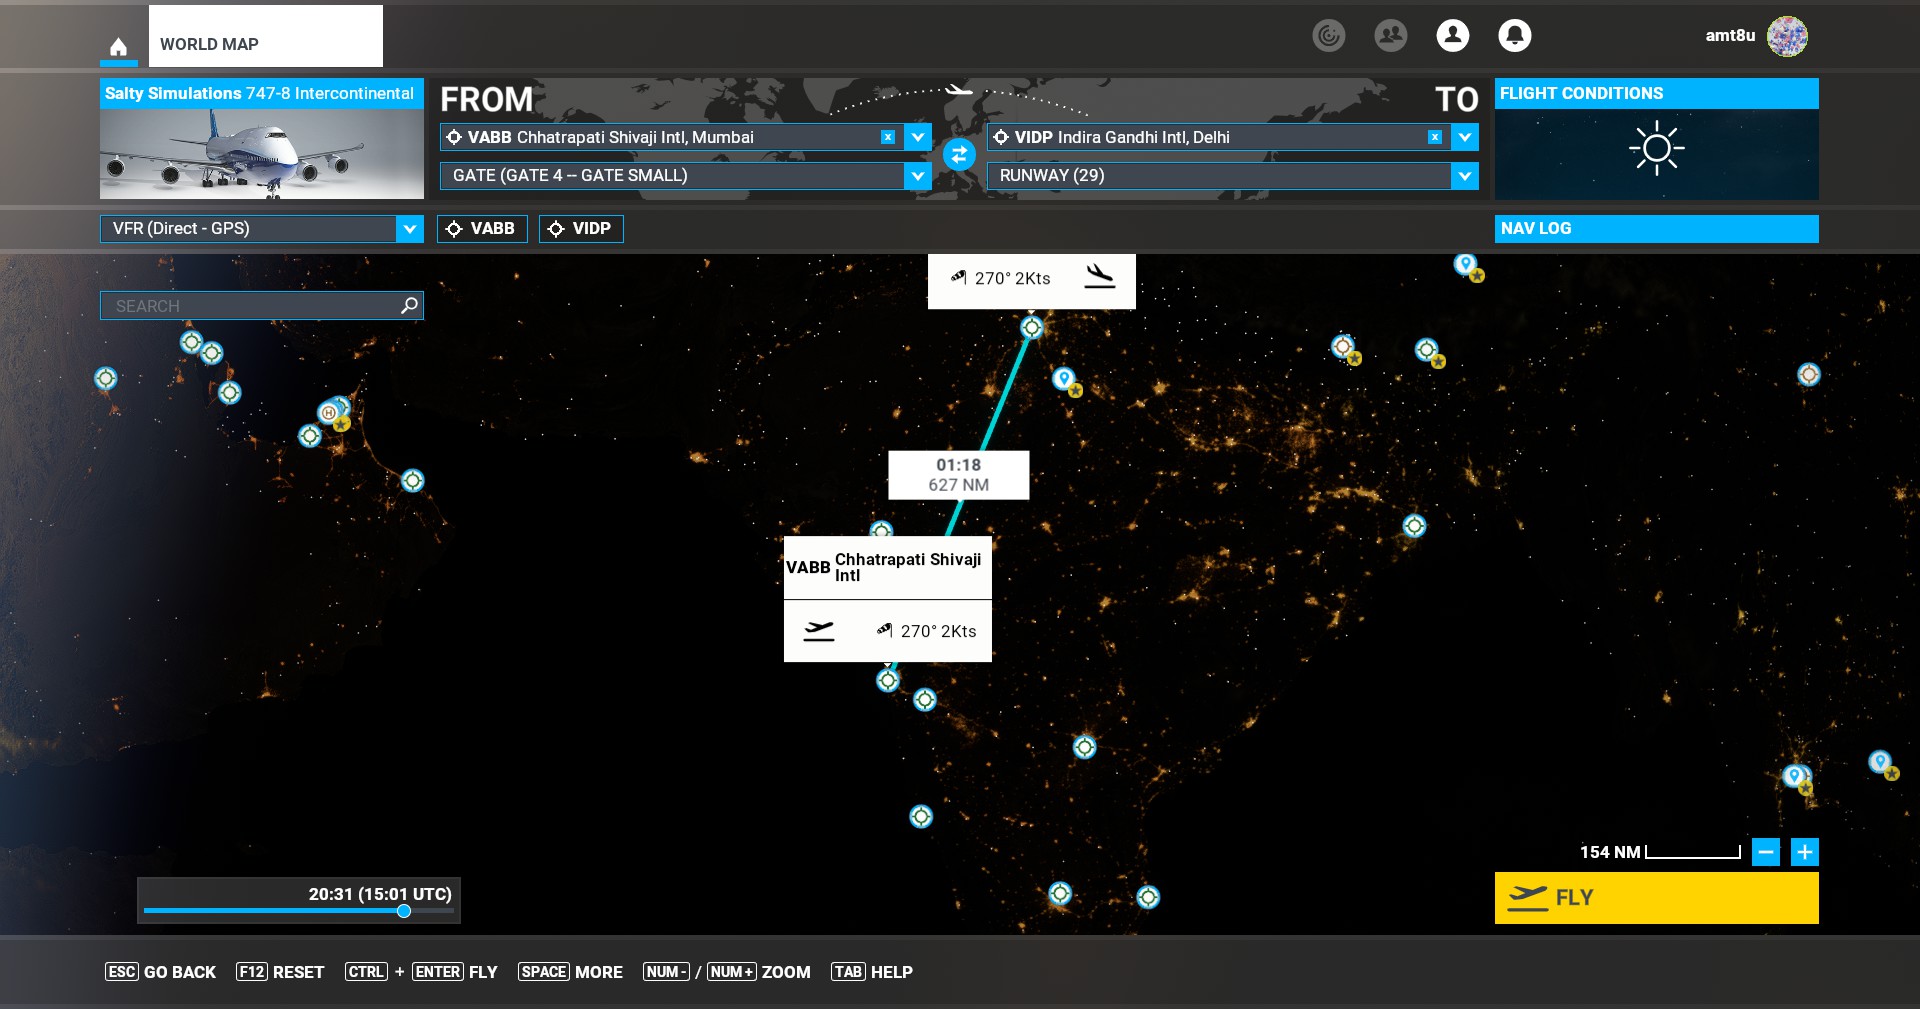
- Departure - Mumbai (VABB)
- Arrival - Delhi (VIDP)
In the World map selection screen, just select the aircraft and departure airport with a Gate/Parking slot. That way the plane will be in shutdown mode.
Preflight
Parking brake
- Right side of left pilot cup shaped button
Battery
- Pull battery cover (Top left)
- Press
BATTswitch - Turn Standby Power to Auto (just on left of batt switch)
- Press external power 1
EXT PWR 1andEXT PWR 2(just below standby power knob) - Close battery cover
 |
 |
Align IRS
Inertial Reference System - This positions the aircraft and starts the heading
- Turn all knobs
L,CandRtoNAV(just above battery panel) - It takes around 6-8 minutes to align depending on where you are in the world
- Check the time in navigation display in Top left section - TIME TO ALIGN. Time will be displayed for
L,CandR
Lights
- Turn on
NAV,WINGandLOGOlights switch in overhead panel bottom right. These lights are used for night, so you won’t need them for day
MCDU
Salty options for simulation help
Salty has given some extra options in MCDU to peform certain operations quickly and help setup sim properly
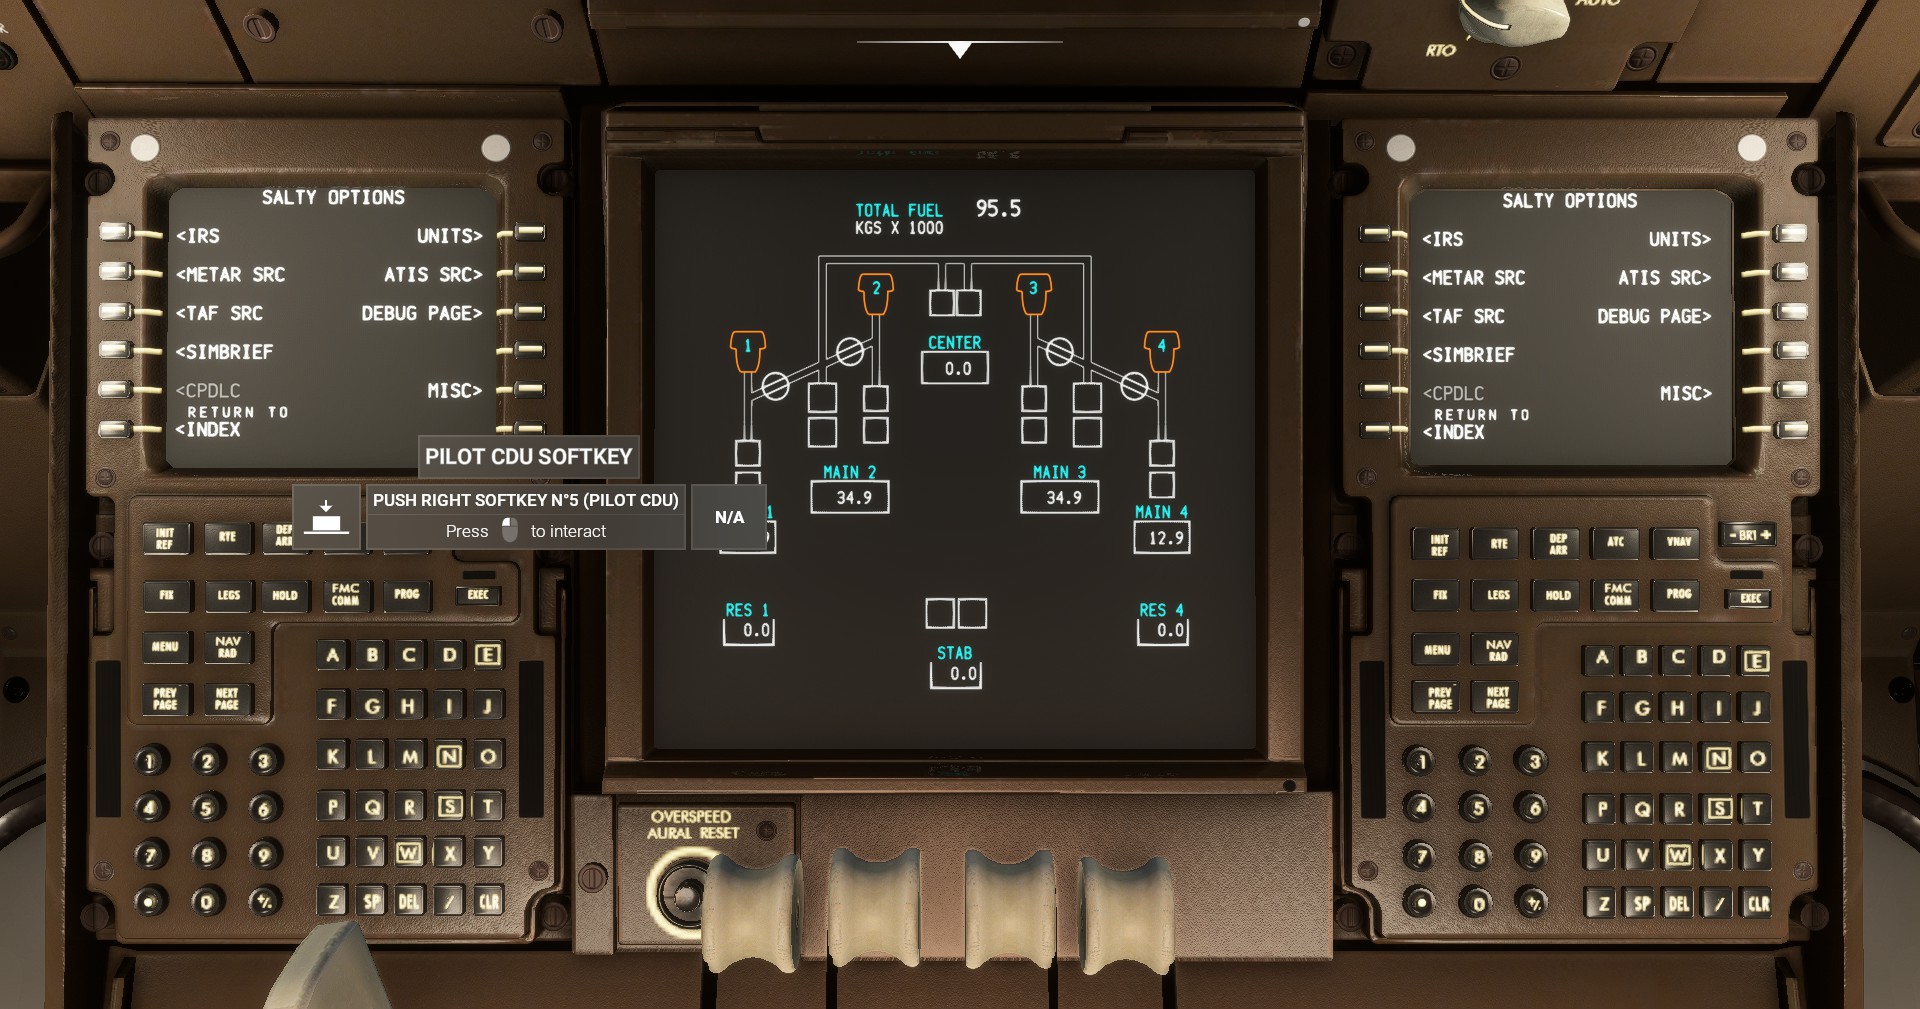
You can hide yoke and pull speed brake a little back so that they don’t obstruct the MCDU buttons
- Press
SALTY. Options should showIRS,UNITS,METARSRCetc. - Click
IRS - You should see
IRS STATUSasALIGNING. Option toUPDATE IRS STATUSandINSTANT ALIGN - Click on
INSTANT ALIGNand thenUPDATE IRS STATUS. You should see the heading director and the IRS time to align values gone from the display - If you take time to reach here, the IRS will align as per the default time
Click any of the options METAR SRC, ATIS SRC and TAF SRC. It leads to same screen where we can select from where we will get the information
PILOTEDGE was selected in the video, but for me METEOBLUE was auto selected
Simbrief
Click OPTIONS and come back to previous screen
You can use SIMBRIEF integration. Type in userid and you are ready to go. Create flight plan in SIMBRIEF and load automatically here. But we are gonna do it manually in the MCDU.
Units
- Press
UNITSthe top right CDU button - Toggle between pounds and kg by pressing
CDU button L1 - Keep the unit same as you have in Simbrief if you are using it
Misc
Some misc options also present like Show Pilot bodies. For me there were two more options FP SYNC and PAUSE at T/D
Nothing to change here. If needed, you can enabled pilot bodies
Return to OPTIONS
Simbrief flight plan setup
Video reference
Login to Simbrief and goto https://dispatch.simbrief.com/options/new. Create new Flight
Basic flight info
- Airline -
BR - Flight Number -
1304 - Depart -
VABB - Arrive -
VIDP - Alternate -
Auto - Departure Time - Set as per need. If you chose night time, it would be greate as you won’t be able to see anything in the cockpit which makes it more realistic.
Aircraft info
Select B478 - B474-8 from the dropdown
Keep the default values as it is.
CI Cost index (cost to fuel burn ratio)is about how efficient the aircraft should be in consuming fuel. If going to a cheaper fuel destination, you can spend more fuel and reach fast.
Keep unit as KG or whatever you selected in the MCDU.
You can change reserve fuel to 45 minutes.
In the optional entries select a runway that has ILS. I selected 11L. Hope it has got ILS. Once you change the runway it will automatically update the route.
You can set Cargo weight to AUTO
Now generate flight plan and download the pdf file
The pdf should look like this - Flight plan
Weights and Fuels
Come back to the MSFS. From the top bar, chose fuels and balances. Change the fuel to around 42%. If you want, you can change the payload as well.
FMS
Video reference
Now we are going to program the FMS
Click FMC (Flight management Console)
The IDENT page is just some identification data.
Model of the aircraft, nav data source, Engine type, Company Data, The AIRAC data expiry etc.
For me the date is MAR20APR17/25
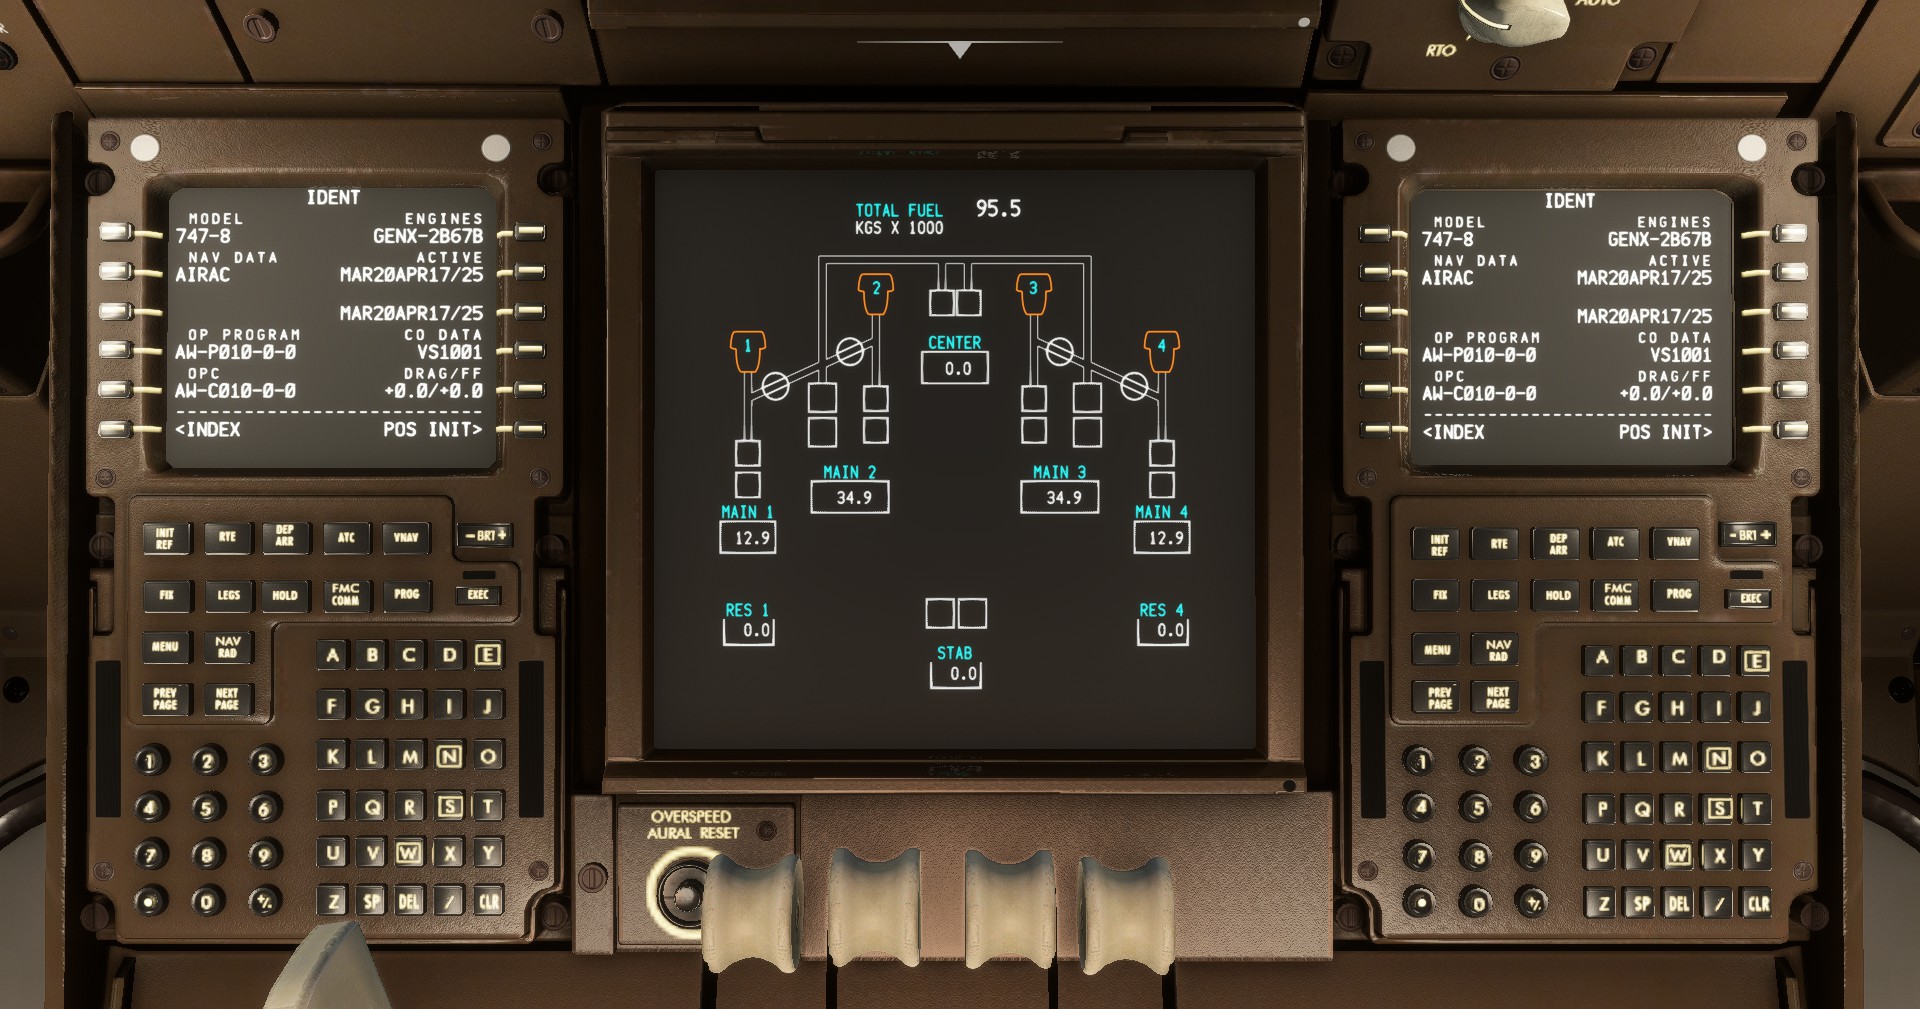
Click POS INIT Position Intialization
Enter departure airport code - VABB. Press CDU L2 so that the text enters the REF AIRPORT
Copy the GPS position to scratch pad and use to set the IRS position
Click on GPS POS
The position should come on the scratchpad
Click on SET IRS POS to set the value
Route
Click on ROUTE to goto route page
Enter origin and destination airports
VABB Mumbai and VIDP Delhi for us
Enter flight number
BR1304 for us
Click on DEP ARR button on the MCDU to directly goto departures and arrivals
The departures list shows all the possible SIDs (Standard Instrument Departure). Check your flight plan and select thje matching one.
You can go through all the SIDS by clicking on NEXT PAGE and PREVIOUS PAGE.
For me it seems the correct one is ALBA2B
On selecting it, it shows Transitions TRANS and runway on right side. In the flight plan I can see ISRIS and I know we selected runway 09. So I will select the same. Lets see.
Execute the plan by pressing EXEC. The button will have a green light on top of it. On clicking it should go off.
Click on ROUTE to back to route page
Click NEXT PAGE
VIA is the list of airways, sids and stars which is like freeways on roads
TO is the list of SIDs which is like exit ramps on roads
Read the flight plan and enter the airway number.
Tried with chatgpt to understand the route. Here is a output of that
VABB/09 – Departure airport and runway (Mumbai, runway 09)

ALBAP2B – SID (Standard Instrument Departure) from VABB

ISRIS – Waypoint

G208 – AIRWAY ✅

DOSTO – Waypoint

Q1 – AIRWAY ✅

BUBNU – Waypoint

A347 – AIRWAY ✅

UKASO – Waypoint

UKASO6G – STAR (Standard Terminal Arrival Route) into VIDP

VIDP/11L – Destination airport and runway (Delhi, runway 11L)

And in the "TO" section beside each airway, you'd enter the waypoint it's leading to, like:
VIA	        TO
G208        DOSTO
Q1	        BUBNU
A347	    UKASO
Enter the first airway G208 and select the CDU button L2. The system will read and take some time to process that.
You should see DISCONTINUITY and a green light on the EXEC button. This is because we don’t have a waypoint in the TO section
Enter DOSTO and click CDU R2. If there are multiple waypoints with same name, you may get a select desired wpt screen. You would need the exact coordinates to select the right one. Search in the flight plan the exact one which needs to be selected.
For me DOSTO was unique.
The pattern generally is WAYPOINT1 AIRWAY WAYPOINT2 (e.g., ISRIS G208 DOSTO).
Airways start with alphabet followed by number Waypoint are generally longer without numbers unless its part of SID or STAR
ALBAP2B ISRIS G208 DOSTO Q1 BUBNU A347 UKASO UKASO6G
ALBAP2B → SID (departure procedure)

ISRIS → Waypoint

G208 → Airway

DOSTO → Waypoint

Q1 → Airway

BUBNU → Waypoint

A347 → Airway

UKASO → Waypoint

UKASO6G → STAR (arrival procedure)
Enter the remaining airways and corresponding waypoint
Q1 - BUBNU
A347 - UKASO
Now enter any direct waypoints. The direct points are waypoints that you want to go directly.
Not srue, but for me I entered UKASO6G and selected the next TO button. On the left side it should automatically show DIRECT.
Click ACTIVATE
Click EXECUTE
Configure STAR Standard Terminal Arrival Routes
Press DEP ARR
Press INDEX
Select arrival airport VIDP
A list of STARs will come up on the display with their approaches like ILS, LOC etc.
I can’t see UKASO6G in the list of stars. UKAS6A shows ILS 27 so I will try with that.
Select the runway ILS27. Slightly different from our original flight plan but should work.
There should be <SEL> beside the option that you selected.
Press EXECUTE
The green light should go away.
Verify the waypoints
Goto the Flight display in front. Goto the panel just over the PFD.
Turn the Nav display controller CTR to PLN
Rotate RANGE to somewhere around 20-40 so that the route is visible in the PFD
Click on LEGS in the MCDU and then STEP through the route.
If you see DISCONTINUITY, there is something wrong. In my case there was one empty entry shown as THEN
For me there are two discontinuties. Not sure how to correct those.
If you see VECT that means the atc will give you headings at this point and will move you to the correct waypoint
Nevermind, will continue
INIT/REF Intial Reference
Goto INIT/REF and you can go page by page
We have already done IDENT and POS
If go page by page, Click ROUTE and then you have the option to goto PERF INIT, or you can goto PERF from INIT REF screen as well
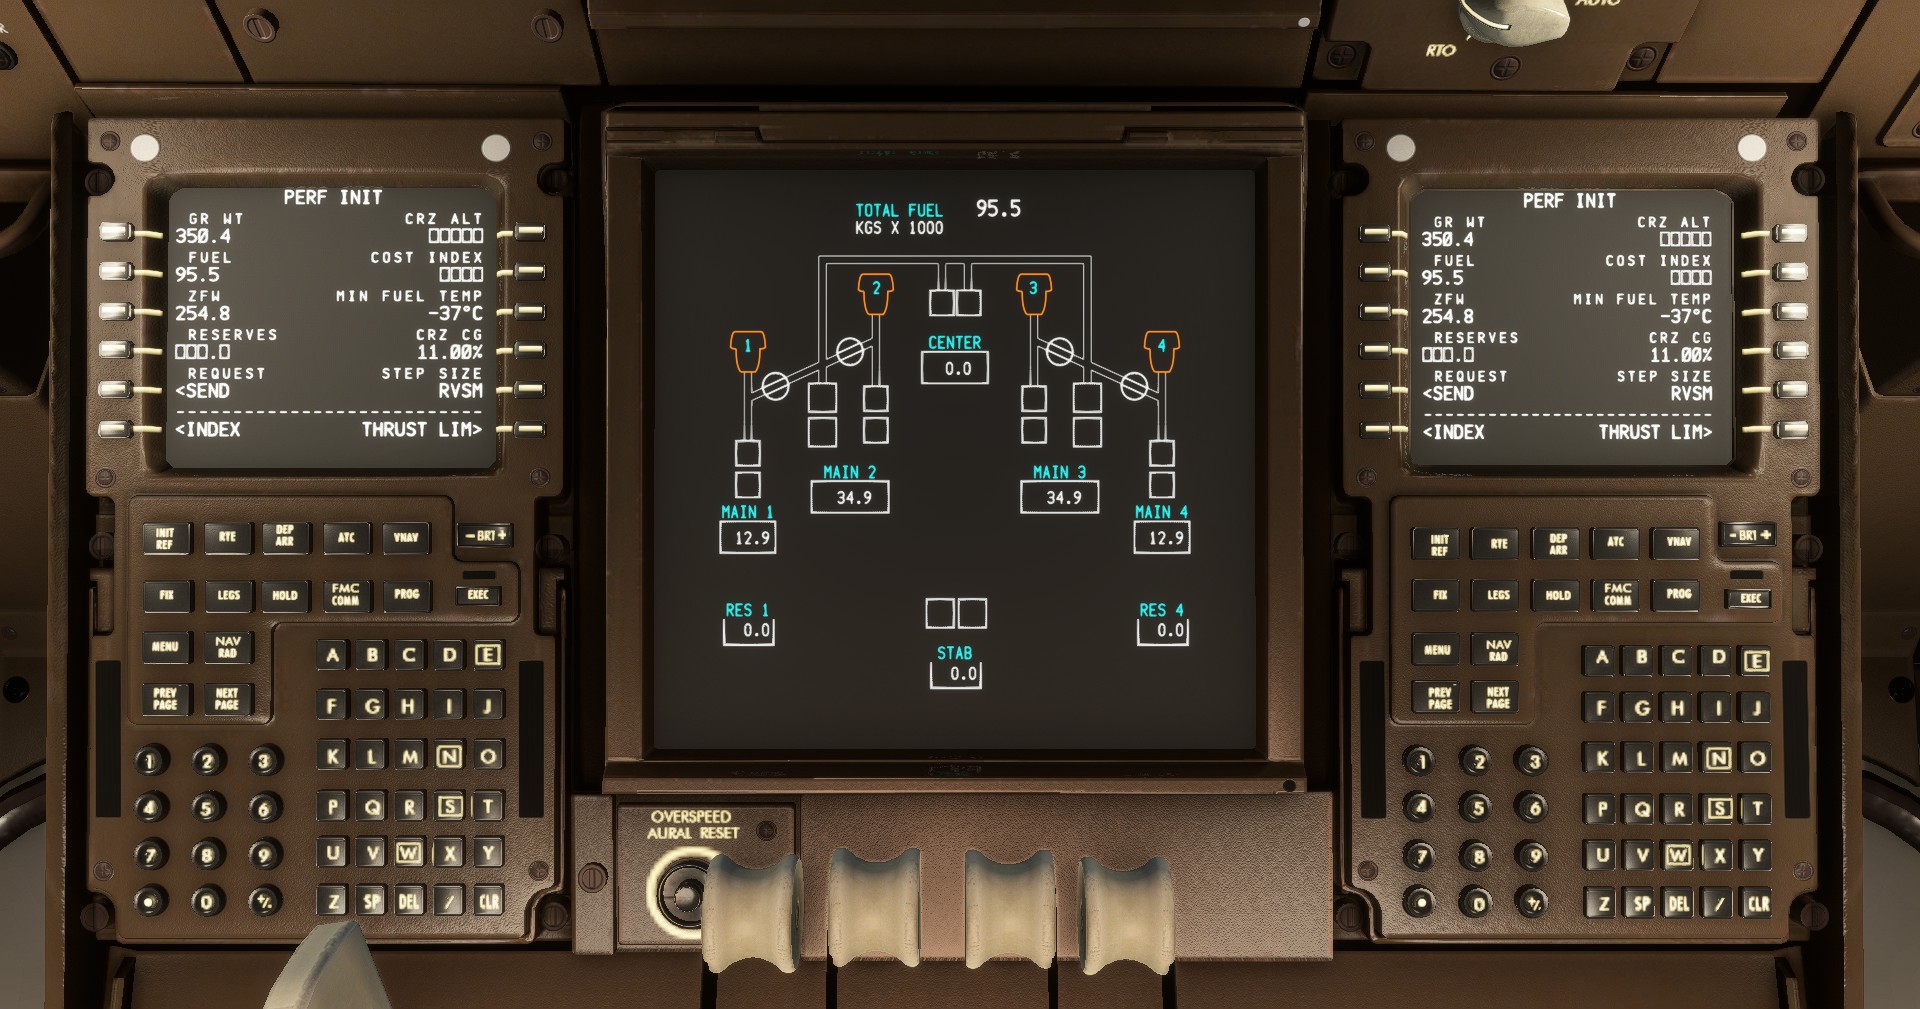
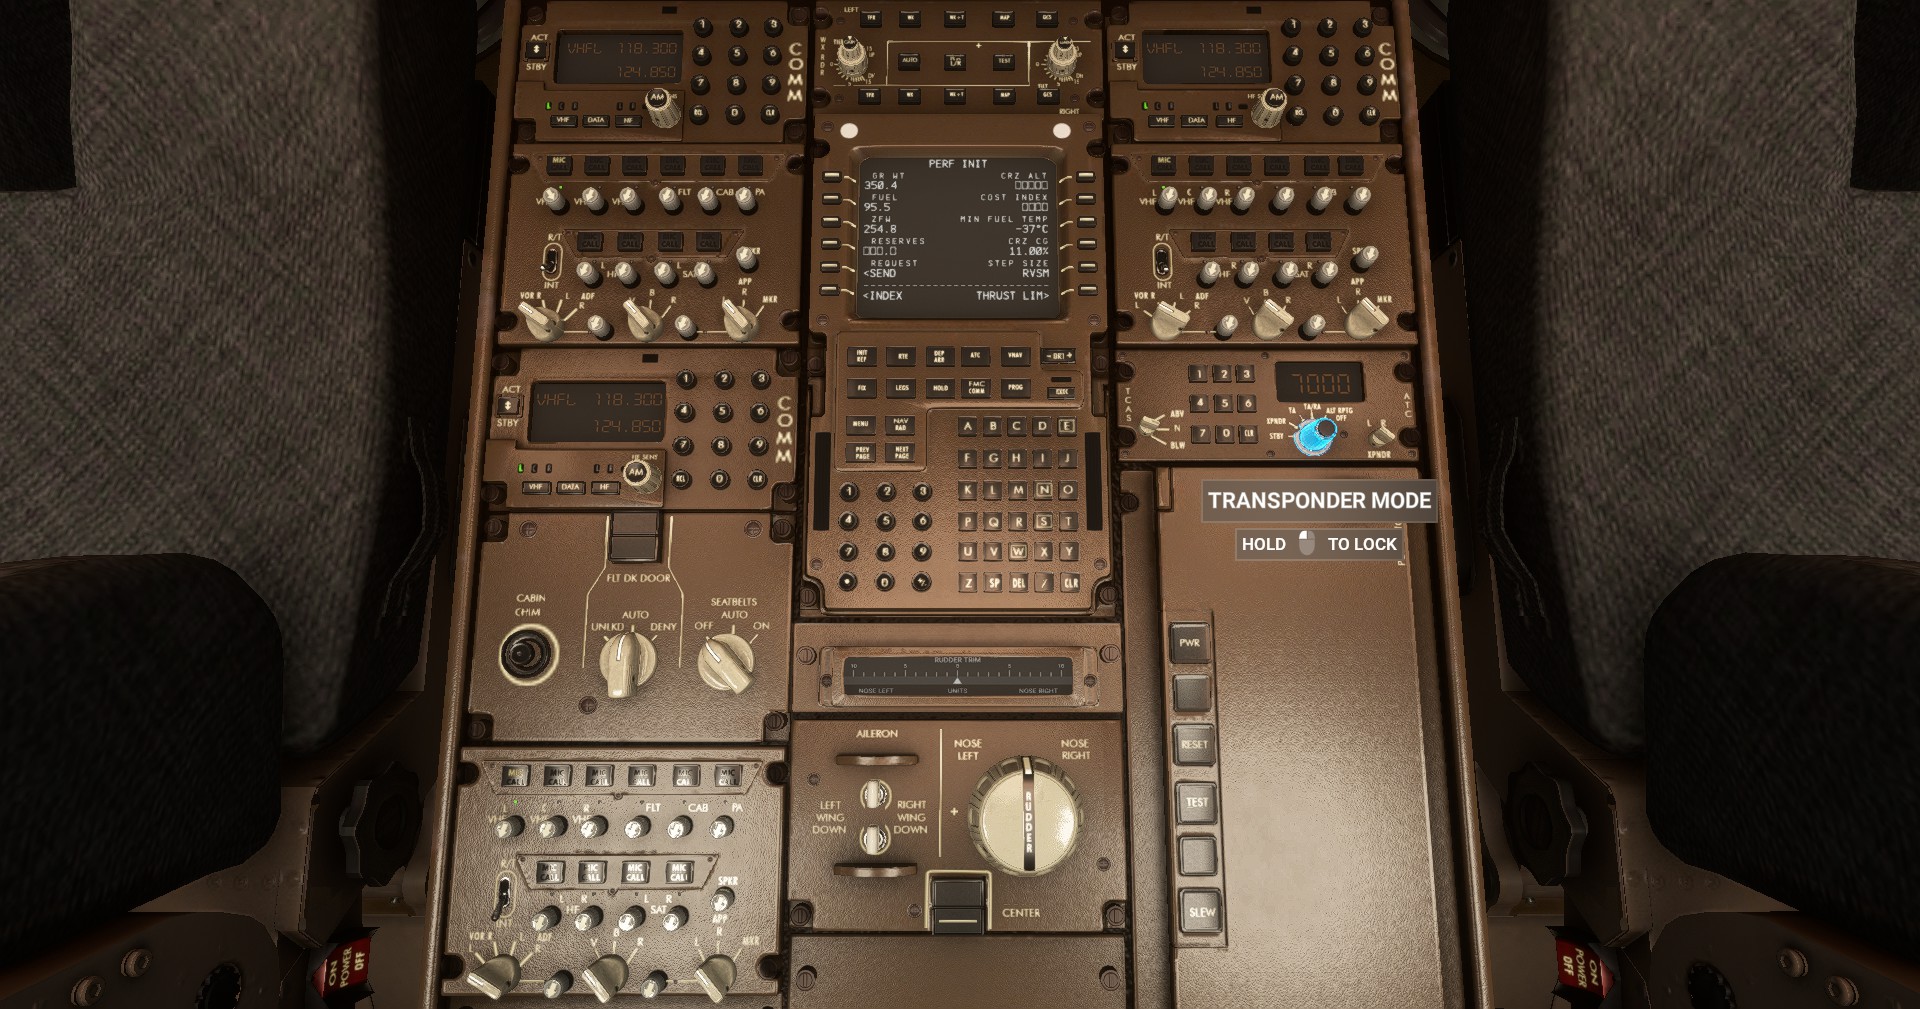
PERF INIT Perform Initialization
Set CRZ ALT cruise altitude to FL380. The right one you need to check.
Set COST INDEX to 40
Set RESERVES as 6.53KG
Press THRUST LIM to move to Thrust Limitations
Thrust limitation is to derate the engine to use it at less power.
To improve engine life To have less sound generation as some areas are nearby airports
Set <TO to 10%. You should see <SEL> CLB 1>
The TO N1 should show a percentage around 85.0% which means the engine will not go beyond 85 percentage. This also depends on outside weather and temperature you set.
TAKEOFF REF
Press TAKEOFF to goto next page
Set FLAPS to 10. If you are on a short runway, you can set to 15 or 20
Press V1, VR and V2. It will automatically calculate speeds.
V1 - Once aircraft exceeds this, its not safe to stop. No matter what happens, you need to takeoff. Thats why when V1 is called, the Pilot takes his handoff from the engine so that they don’t instinctively reduce the throtte.
VR - Point at which pull the noise back
V2 - V2 is the speed at which aircraft suffers engine loss
It depends on company preference and other factors.
Other dtails should be fine not to touch. Gross weight etc.
Click NEXT PAGE to goto page 2 of Takeoff page
There you have EO ACCEL HT Engine Out Acceleration Height. If on takeoff you lose an engine, the aircraft will slow the climb. At 1000FT the aircraft will point nose down, reduce climb rate and accelerate. Ideally it should be editable, but its not a feature here.
THR REDUCTION
CLB-1 Once we reach 1500FT engine will engage climb performance
At 3000FT the aircraft will slow down and accelerate again.
Pre Start Engine
Video reference
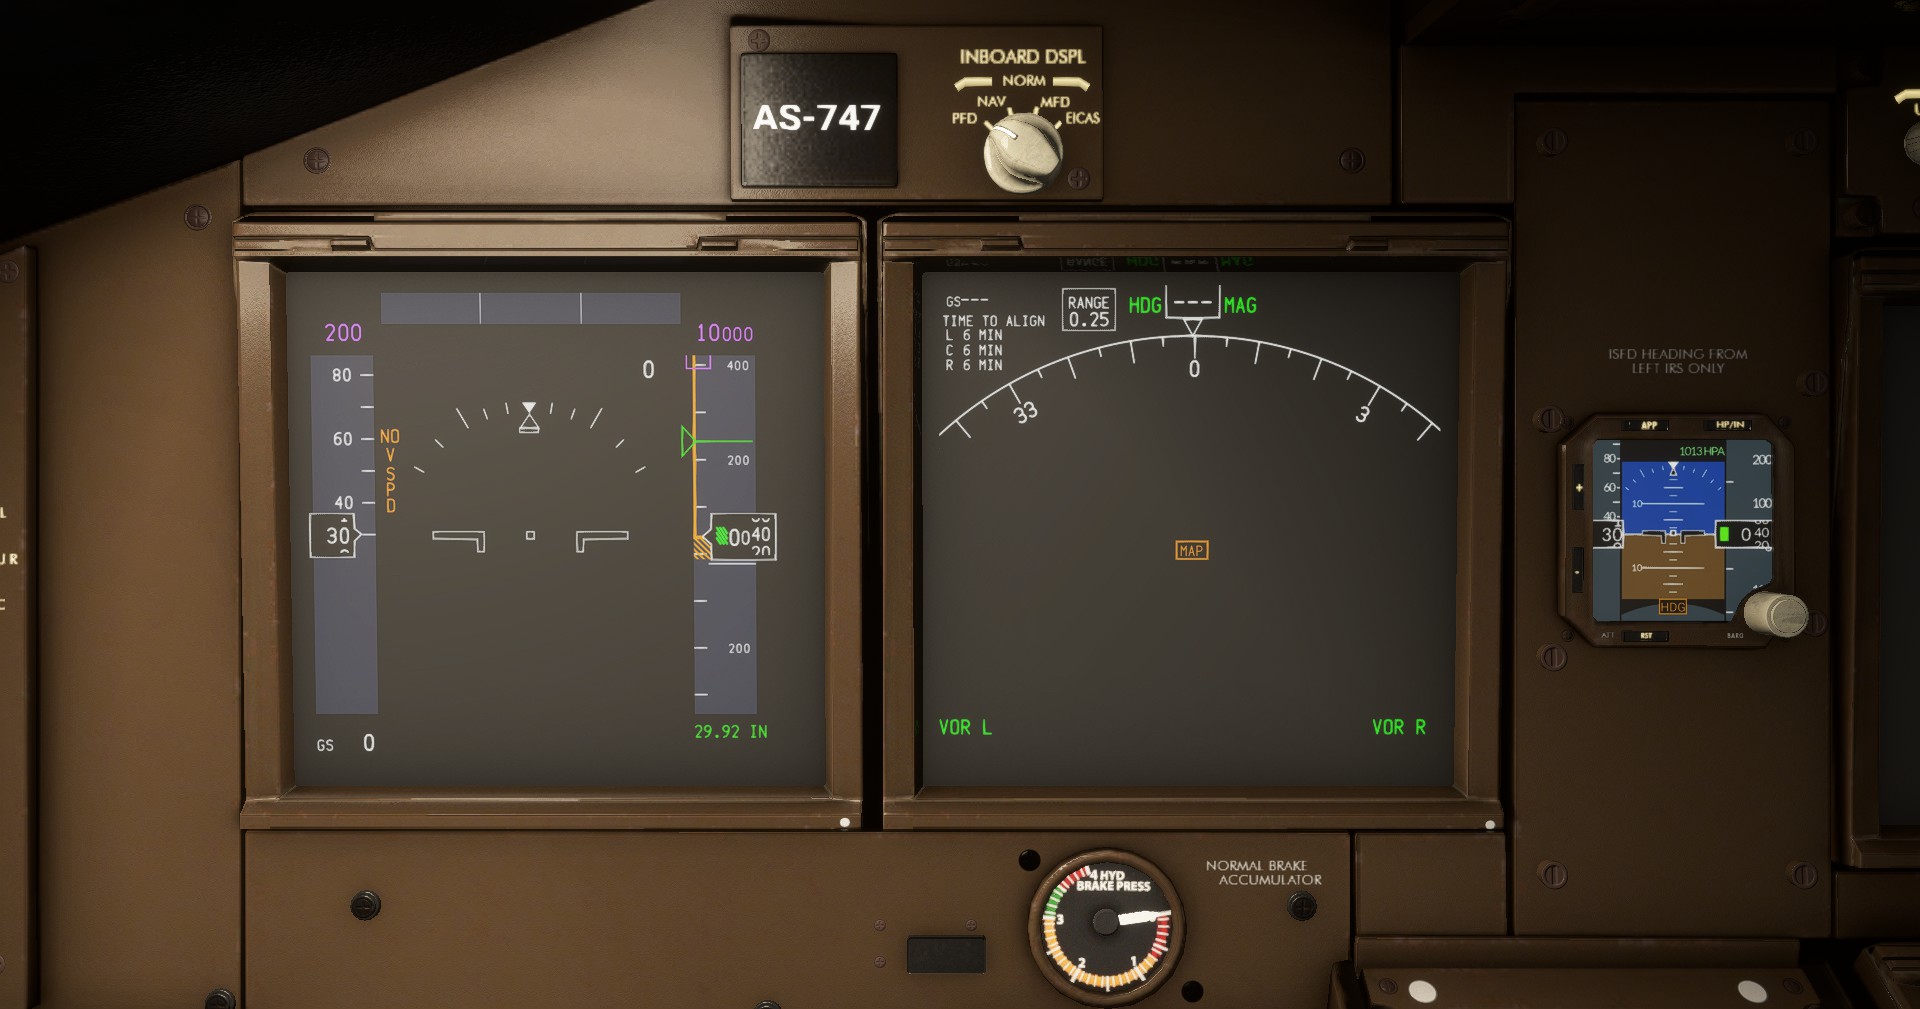
Move to the front panel where heading and altitude controls are
Turn on F/D Flight Director switch. You should see TO/GA in green at the top of PFD. And also see FD in green in the PFD
Turn on the A/T ARM swithc just above
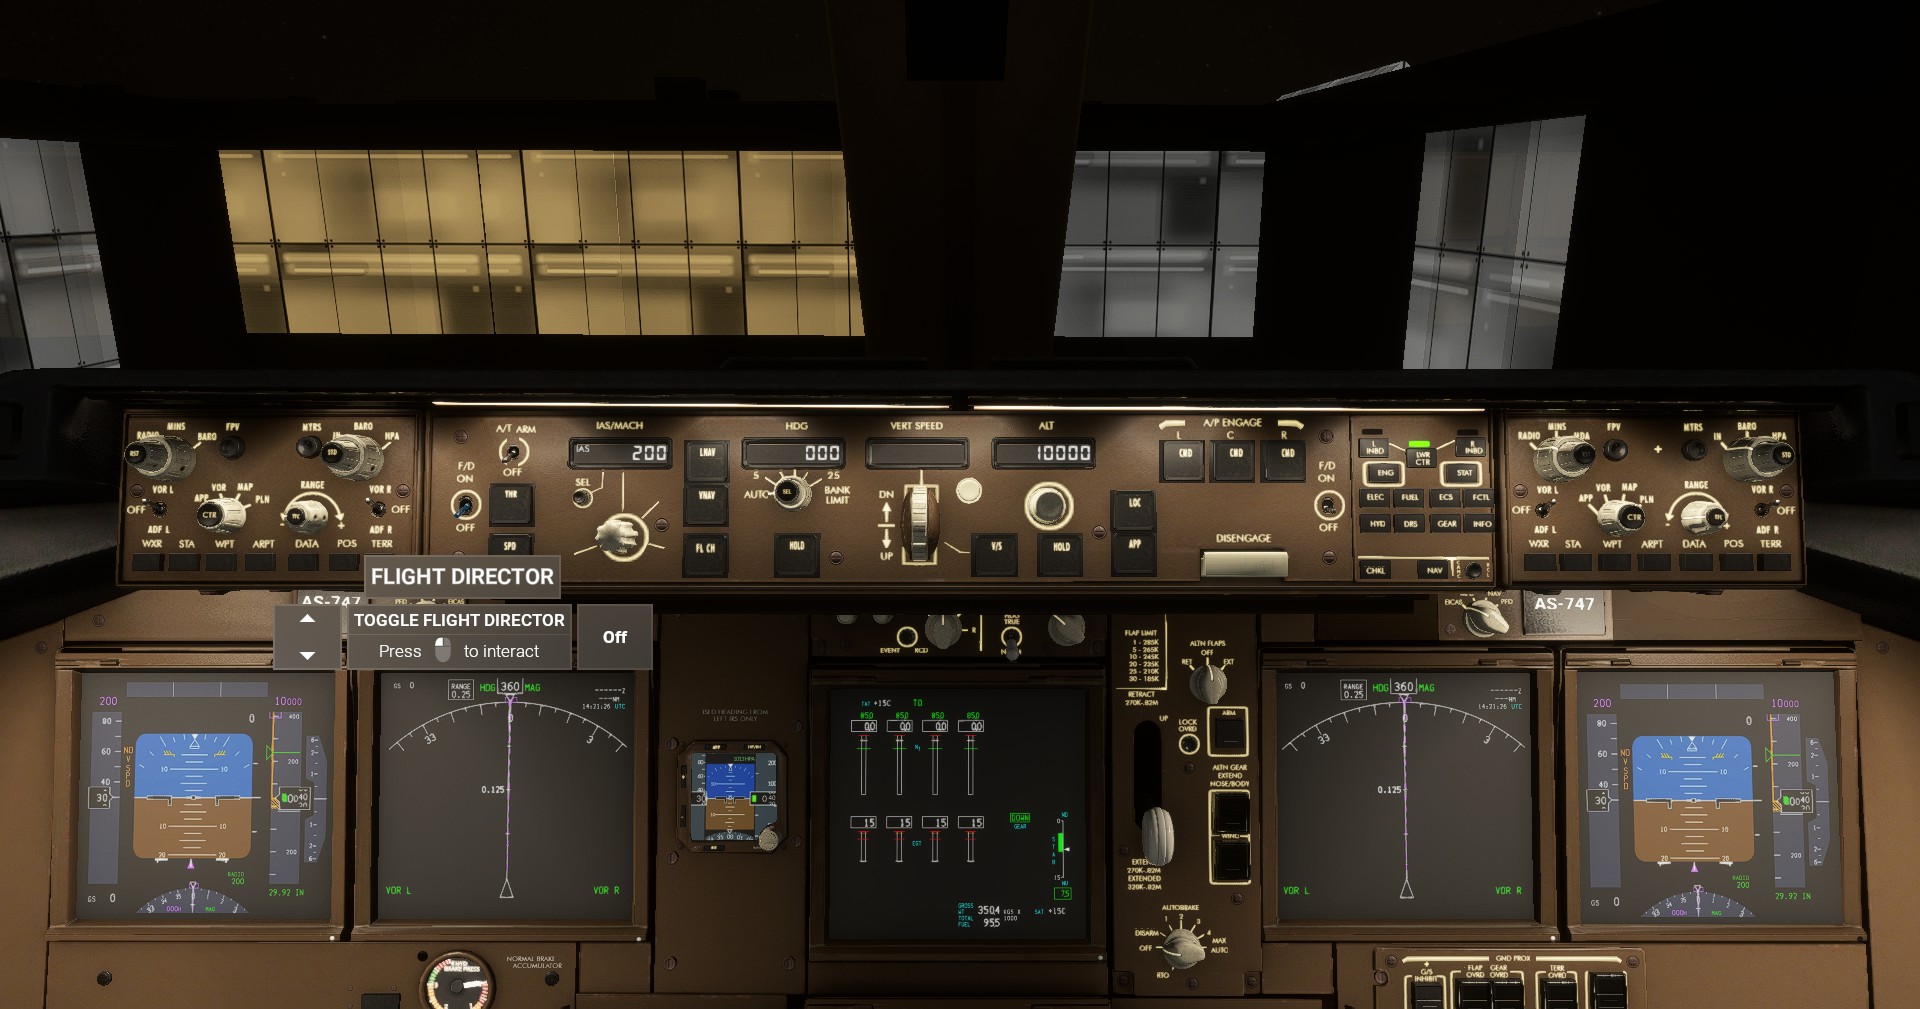
Turn the IAS/MACH knob to 175 165+10. In the video he set it to 182.
Make sure VOR L and VOR R are in on position. They should be on by default.
Set departure heading. Since our runway is 09L, set HDG to 090
Set ALT to 4000. Check what altitude you are restricted as per your SID
Now lets set the pressure controls
Goto Leftmost side of the front panel
Multiple options
- Call ATC
- Press
Bon the keyboard to set it to 29.9 - You can also switch between
INandHPAusing the knob.
You will see the altitude change on changing the baro values.
Minimums
Adjust the minimums.
Whatever we set for EO ACCEL in the MCDU, should be set here.
By default the value is 200 which can be seen in green near the bottom left of the altitude in PFD under text BARO or RADIO. 200 is the minimum for landing. If you don’t visually see the runway below 200, you need to go around.
You have to reach 1000FT before you can pitch down and accelerate.
Change the MINS by rotating the knob to 1000FT
Change the switch to BARO from RADIO
Pushback & Engine Start
Make sure parking brake is set
Switch Beacon light on in overhead panel. This will let everyone know that we are starting the engine.
Switch Fuel pumps on Goto overhead panel and switch on below pumps
MAIN1, OVRD 2 MAIN, MAIN 3 OVRD and MAIN 4
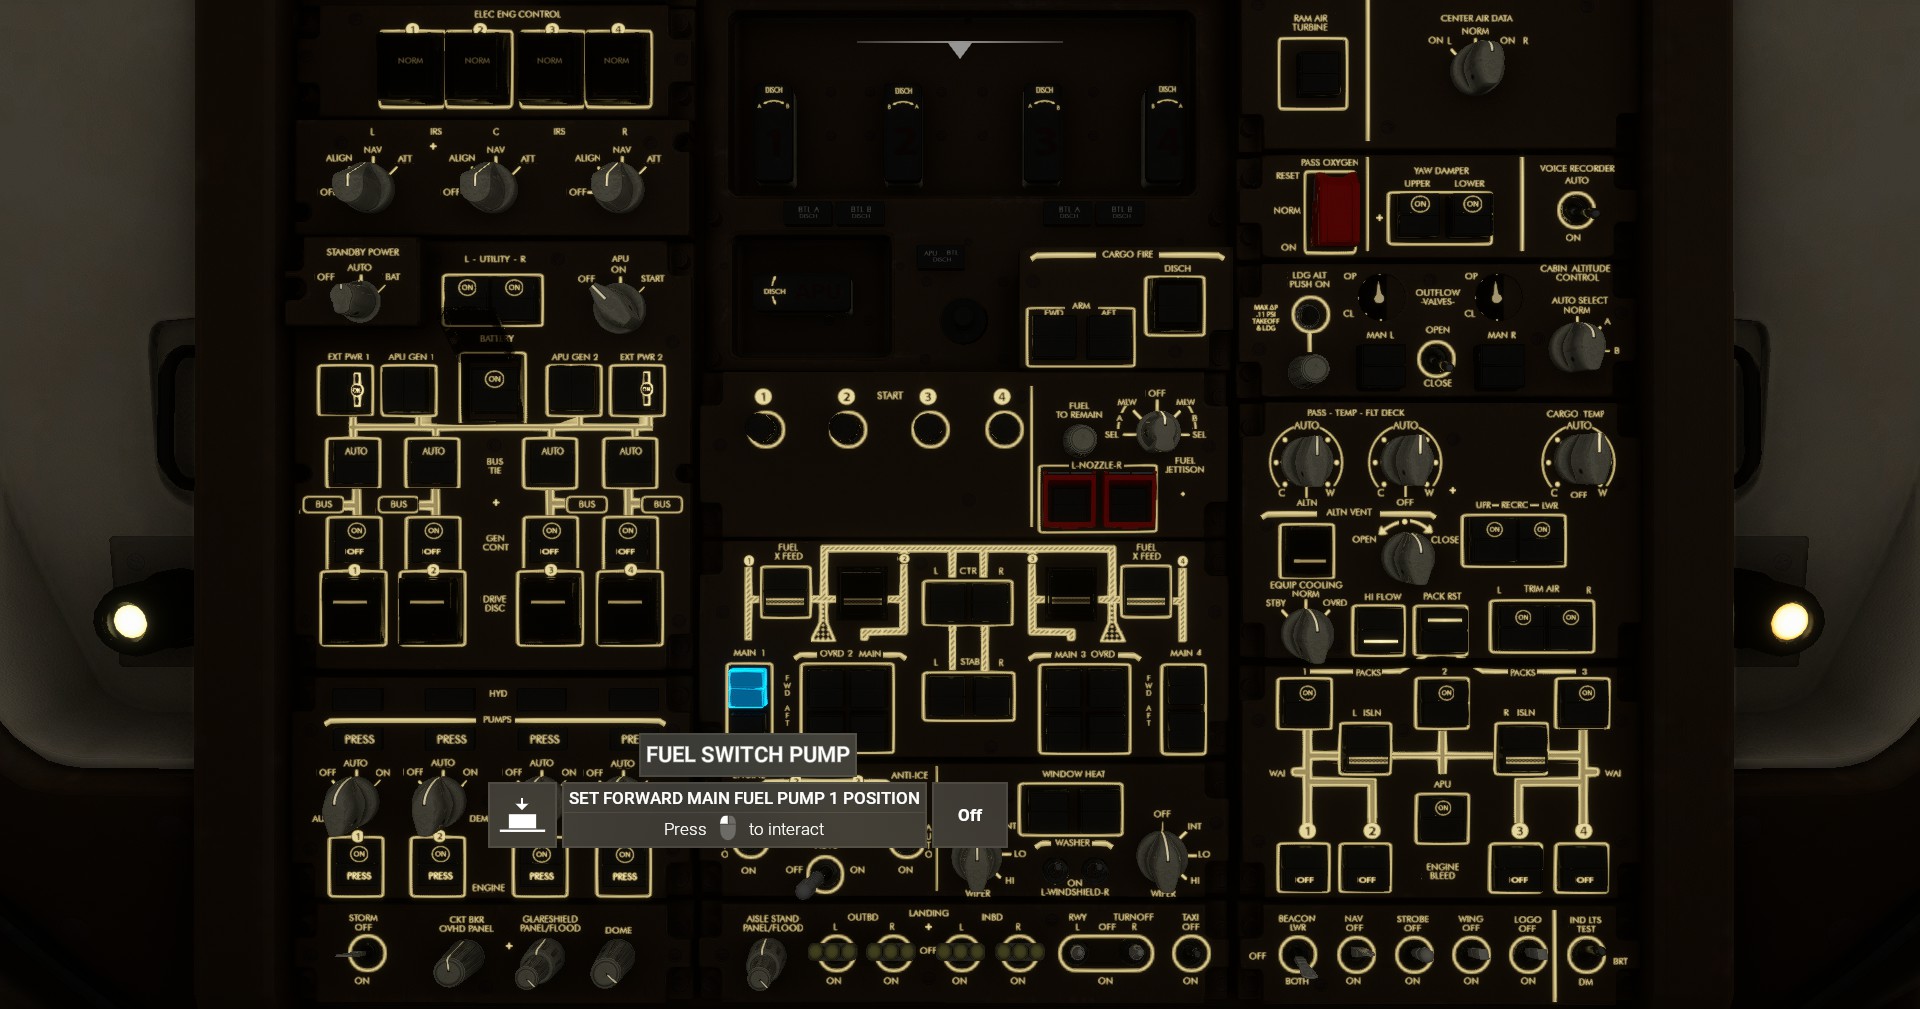
Now if you see the ECAS display or the fuel display near the MCDU, you should see the pumps as Green or Blue. Amber would mean that fuel is not there, but you have switched the pump on.
If you switch on the center pumps, you will see that it shows as amber. FUEL LOW CTR L in the ECAS display. You can switch it back off.
Turn on the APU
Turn first to APU ON and then turn it more towards START. The knob will come automatically back to center.
Click on STAT button on the front right panel. This will show some stats on the ECAM display near MCDU. But for me it was disabled.
But I can see the APU RUNNING in white color in the Engine display just above the FUEL display panel. Same he mentioned in the video as well.
In the overhead Panel Switch on APU GEN 1 and APU GEN 2
Switch EXT PWR 1 and EXT PWR 2 to off.
At this point, we need to shut the packs off in the top right panel. But thats not modeled, so its okay.
There are many Pushback systems available. You can use any of the services.
Click on the ATC icon top toolbar. If not tuned, tune into ground and make a request for pushback. For me somehow atc options wwere not coming, Had to save and reload from that point.
Start Engine
Switch 3 and 4 engine bleed on in the overhead panel bottom right just above the lights switch.
Then pull Engine starters 3 and 4 in the overhead center panel
In the MCDU side display, the numbers should start to go up.
As soon as it reaches more than 10, switch Engine fuel cutoff for 3 and 4 to ON. The control is just behind the throttle
The numbers should go up and should stop at around 60% idle.
Meanwhile, Change the transponder to some number 1234.
Switch the knob to XPNDR
Repeat same for Engine 1 and 2
Switch 1 and 2 engine bleed on
Pull engine startes 1 and 2 in the overhead panel
Again, once it reaches 10%, switch ebngine fuel cutoff for 1 and 2 to ‘ON’.
The numbers should start rising for 1 and 2.
Set ANTI-ICE to AUTO for 1, 2, 3 and 4 in the overhead panel
Turn on TAXI light
Toggle RWY TURNOFF lights if required. No need for us.
Switch APU GEN1 and APU GEN2 off
Switch APU BLEED off
Turn APU to OFF
Set AUTOBRAKE to RTO which means rejected takeoff
Set FLAPS to 10. Same would be visible in ECAM display as well
Change NAV display to MAP. Thats your preference if you want something else
Multiple WXR, STA, WPT, ARPT, DATA POS, TERR options there, but not sure if they are modeled correctly. No need for now.
Taxi
Monitor ground speed from PFD left bottom or heading display top left
Taxi speed guidelines Straight 20-25 knots Turn around 7-8 knots
Disable parking brake
Throttle a little, the aircraft should start moving
Use the joystick to rudder direction
Some controls that you should map to keys to make it easy, so that you don’t need mouse
Auto pilot disconnect - DISENGAGE
Two little flaps in front of the throttle - TOGA
Auto throttle arm switch ARM
Taxi to the takeoff position
Contact ATC for clearance to takeoff Select - “Request taxi to active, departure to the west” Acknowledge tranmission
Once reach the runway, request for takeoff. Wait for clearance.
Turn LNAV and VNAV armed
Acknowledge clearance and move towards the runway
Check 50% rpm on engine
Release parking brake and push throttle to full
Ready for takeoff
As per ATC line yourself up to the desired runway and wait for clearance. Once received, you can proceed for takeoff. Will create a separate guide for takeoff.
End